How to Make a Music Visualizer for YouTube (Fast & Pro in 2026)
If you release music in 2026, you know that uploading a static image to YouTube simply isn't enough anymore. Listeners expect visual stimulation, and having a dynamic, audio-reactive video can significantly increase your retention rate and streams.
But what if you don't know how to use complex software like Adobe After Effects?
In this guide, we'll show you how to make a music visualizer quickly, directly in your browser, without paying for expensive subscriptions.
Why You Need a Music Visualizer
Before we dive into the "how," let's look at the "why."
- Algorithm Boost: YouTube and TikTok algorithms favor videos with movement. An audio visualizer keeps the screen dynamic, signaling to the algorithm that it's a "video" rather than just a song with a picture.
- Branding: A custom visual style (like lo-fi waves or intense EDM spectrums) helps cement your artist brand.
- Audience Retention: Moving visuals keep listeners engaged longer, increasing your total watch time.
The Best Way to Make a Music Visualizer Online
You don't need a massive desktop application to render 4K visuals anymore. Tools like VisualizerWave allow you to generate high-quality, 60fps videos directly in Chrome or Safari.
Here is the step-by-step process.
Step 1: Upload Your Audio File
Start by dragging and dropping your finalized master track (MP3, WAV, or FLAC) into the visualizer maker. The engine will instantly analyze the frequencies and beats of your song.
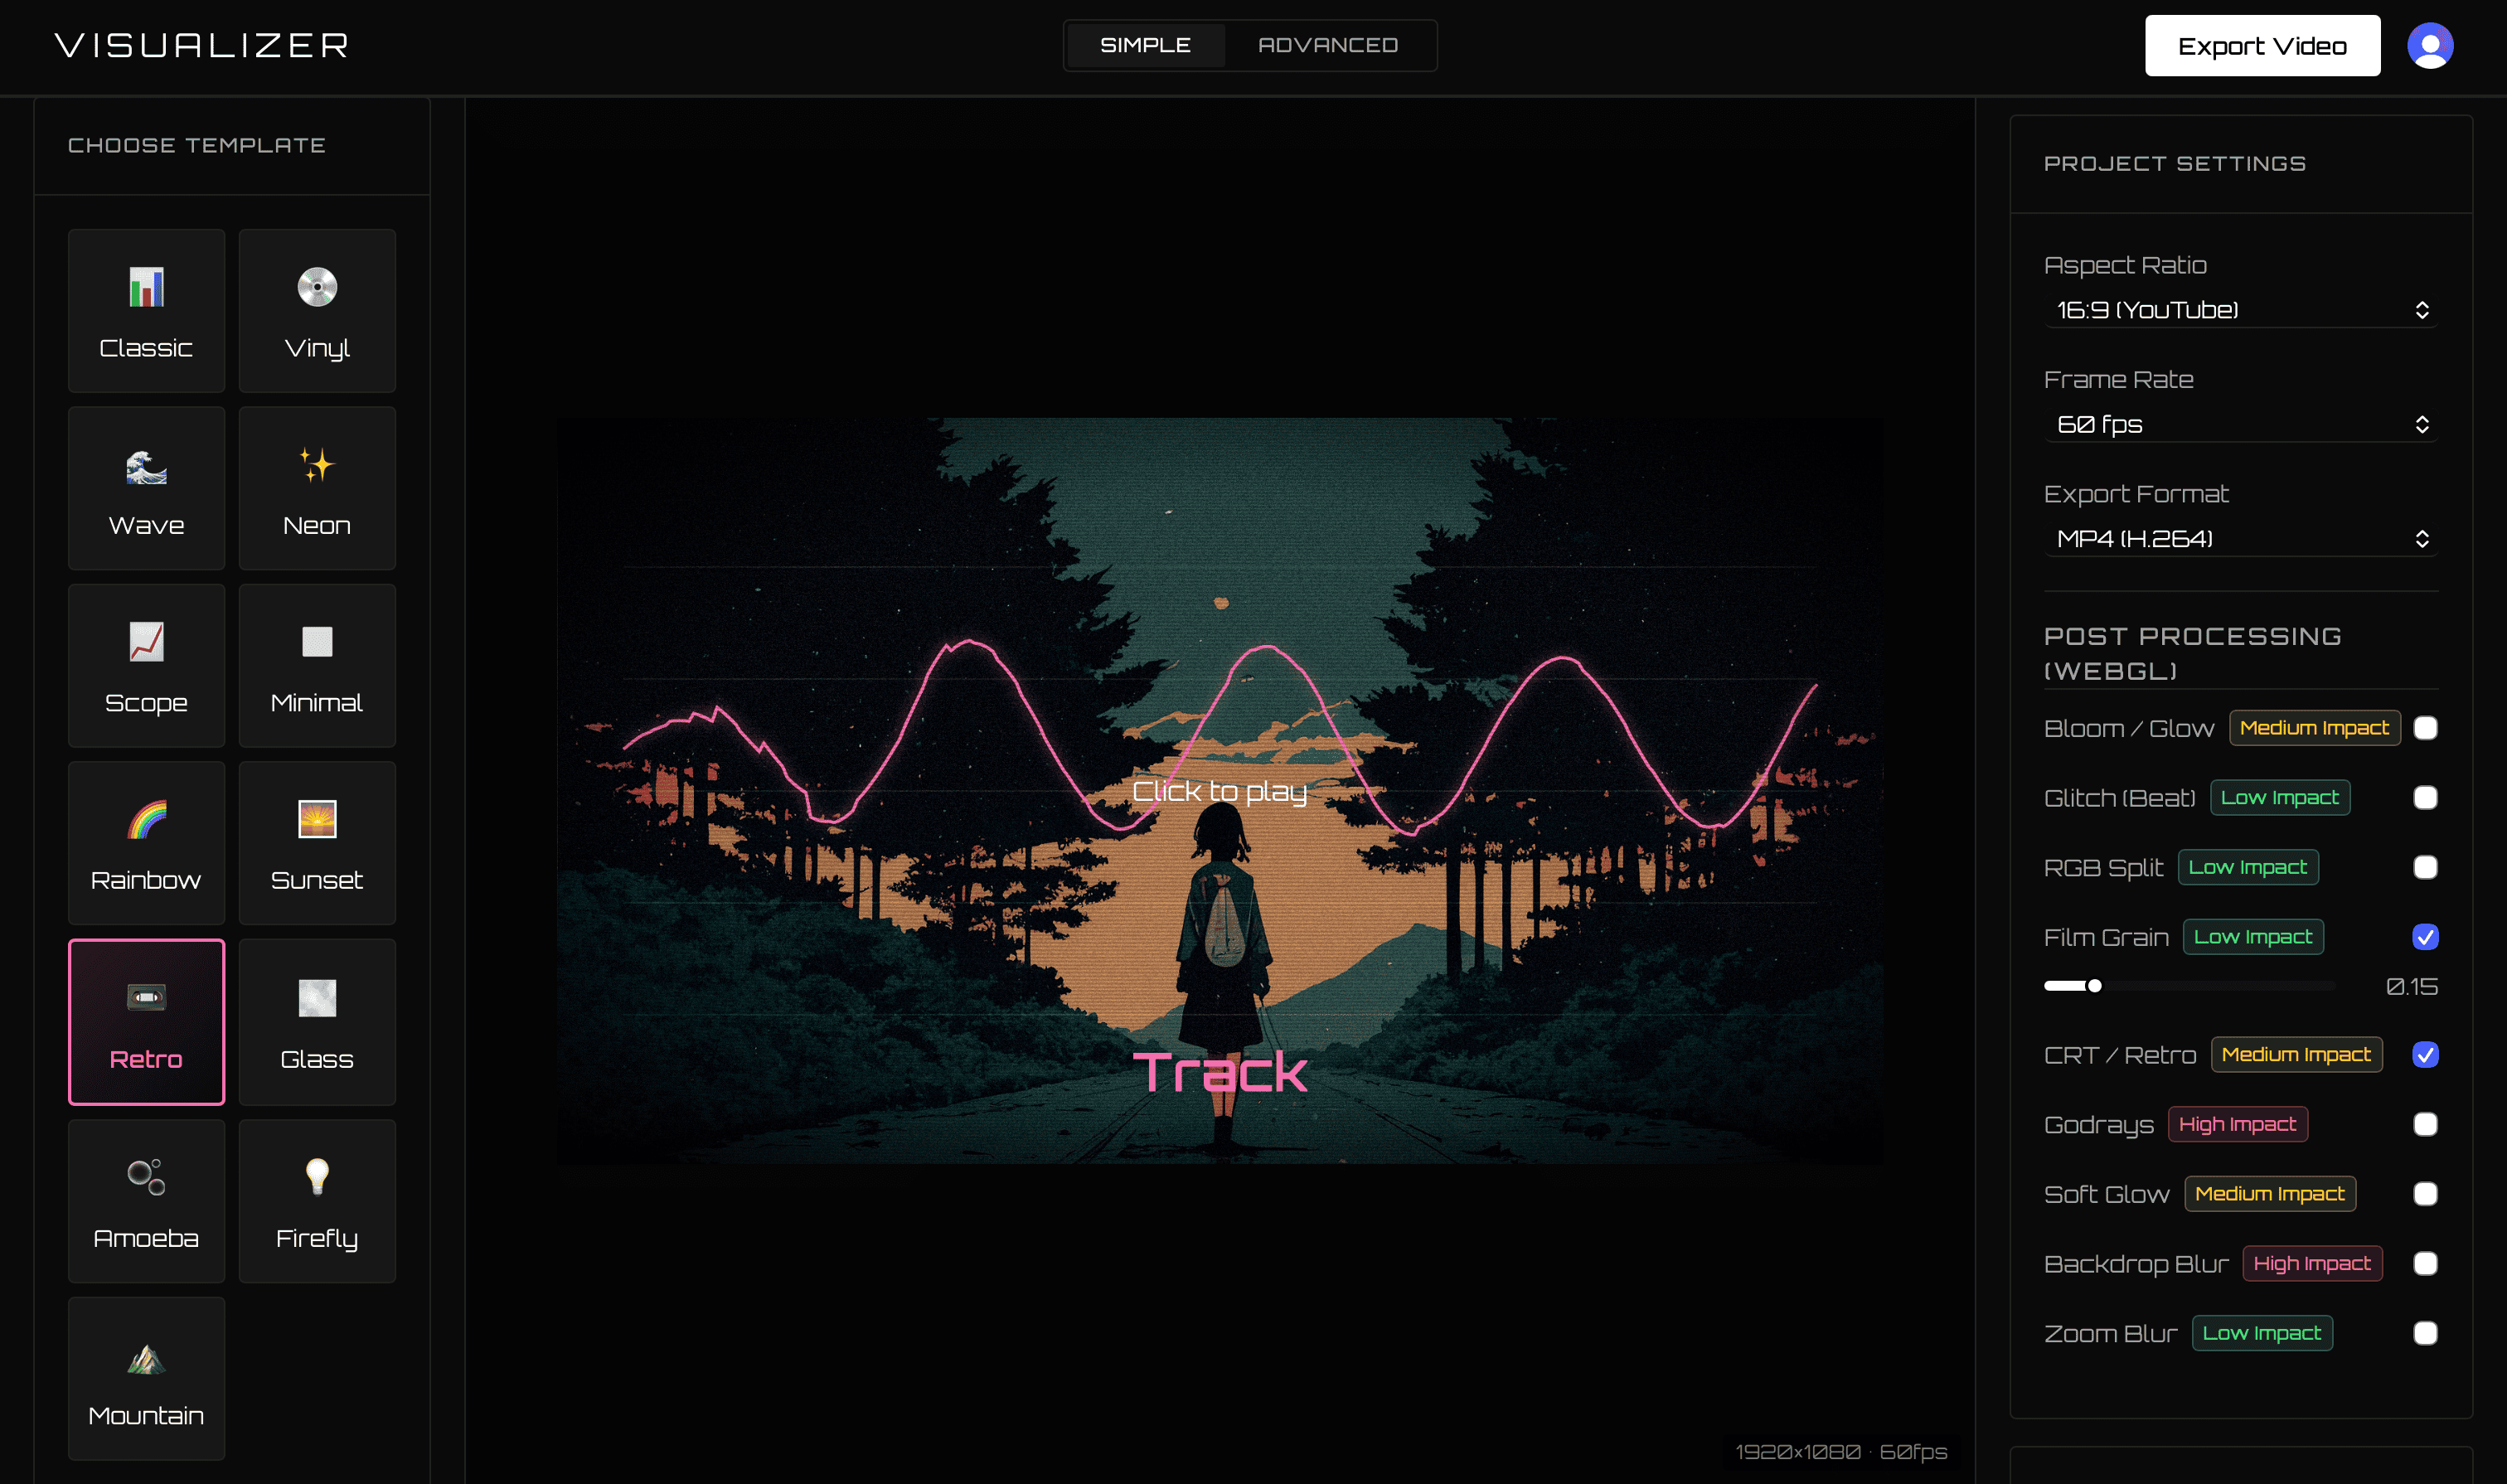
Step 2: Choose Your Visual Style
Different genres demand different aesthetics. When choosing your template, consider the vibe of your track:
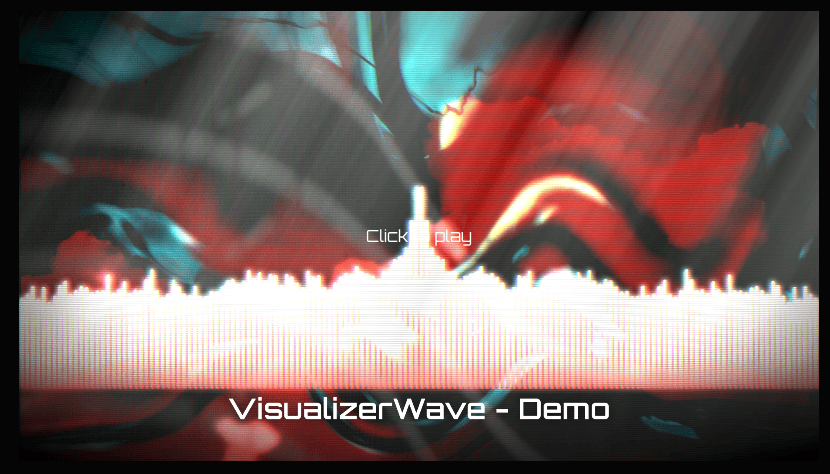
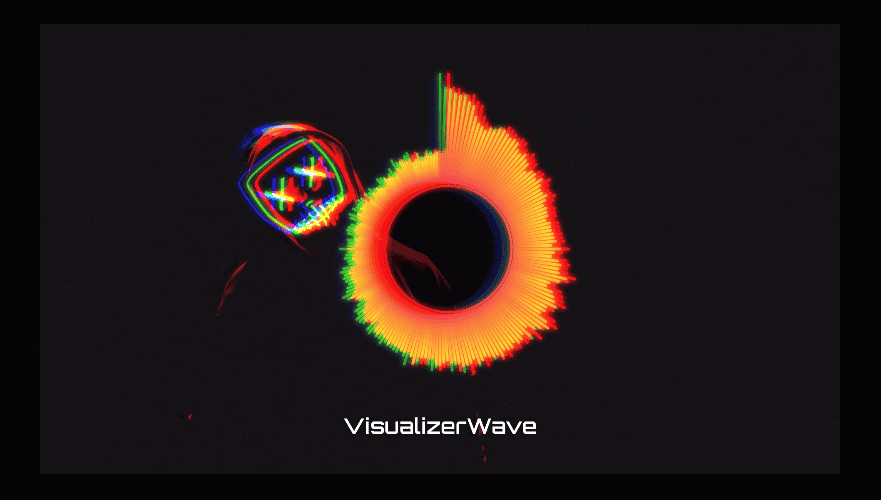
- The Radial Spectrum: Perfect for Trap, Dubstep, and EDM. The circle reacts aggressively to the kick drum and bass.
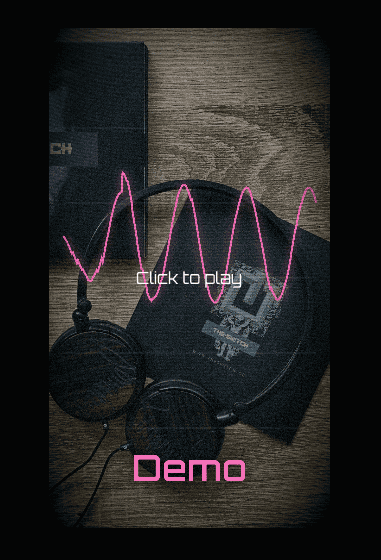
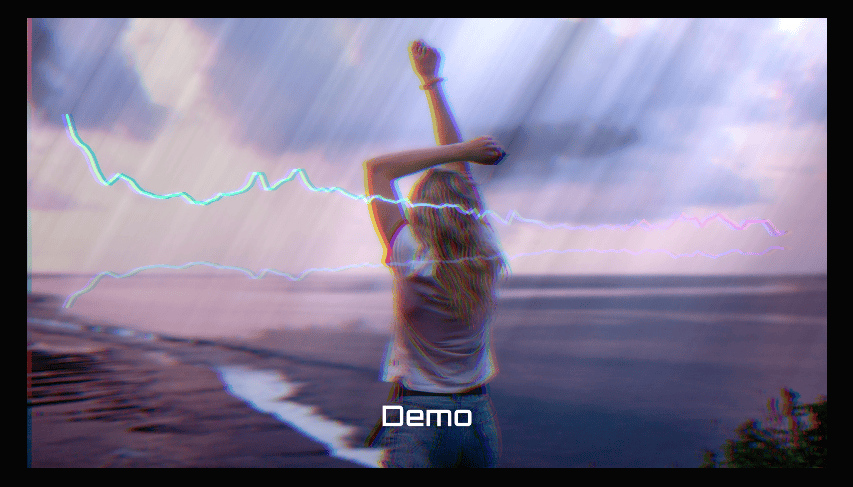
- The Classic Waveform: Excellent for chillhop, lo-fi, and podcasts. It provides a smooth, relaxing visual representation of the audio.
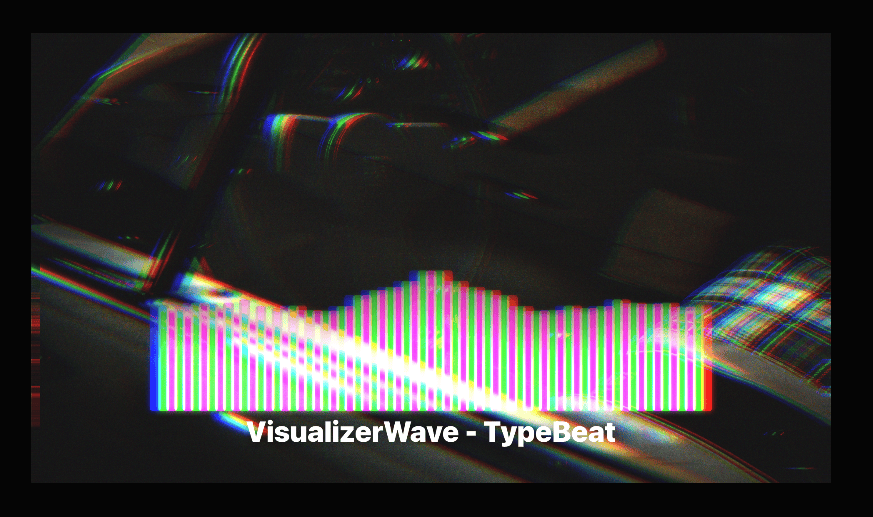
- The Minimalist Bar: Great for pop and acoustic tracks where you want the focus to remain on the cover art.
Step 3: Add Your Cover Art and Branding
Your visualizer should look like you. Upload your album artwork or a high-quality background image. You can also add your artist logo and position it perfectly on the canvas.
[!TIP] Pro Tip: Make sure your background image has a slightly darkened overlay (or use a built-in vignette effect). This ensures that your brightly colored audio waveforms pop off the screen!
Step 4: Apply Post-Processing Effects
This is what separates amateur videos from professional releases. Add subtle effects to enhance the mood:
- Bloom (Glow): Makes the frequencies glow intensely on heavy beats.
- RGB Split & Glitch: Adds a retro, edgy feel perfect for synthwave or experimental hip-hop.
- VHS/CRT Filters: Essential for that vintage lo-fi aesthetic.
Step 5: Export in 4K
Once your video is perfectly synced to the beat, it's time to export. Make sure to select the correct aspect ratio:
- 16:9 for YouTube.
- 9:16 for TikTok, YouTube Shorts, and Instagram Reels.
- 1:1 for standard Instagram posts and Spotify Canvas.
Hit export, and your browser will render a high-quality MP4 video file ready for upload.
Final Thoughts
Creating a music visualizer is no longer a bottleneck for independent artists. You don't need a dedicated animator or an expensive software license. By using a browser-based audio visualizer, you can turn your tracks into captivating videos in under five minutes.
Ready to see your music come to life?