How to Make a Visualizer Animation (The Easy Way in 2026)
If you're asking how to make a visualizer animation, you've probably realized that uploading a music track with a static cover image isn't enough to capture attention anymore. On platforms like YouTube, TikTok, and Spotify, algorithms favor dynamic, moving content over still images.
Historically, answering the question of how to make an audio visualizer animation meant learning complex software like Adobe After Effects or Blender. You had to learn about nested compositions, keyframes, expressions, and rendering queues.
Fortunately, in 2026, you don't need a degree in motion graphics to create a professional 4K music video.
In this guide, we'll show you how to skip the steep learning curve and generate stunning visualizer animations directly in your browser using modern WebGL technology.
The Old Way: After Effects and Blender
Traditionally, creating an audio-reactive animation involved heavy desktop software:
- Adobe After Effects: The standard approach involved applying the "Audio Spectrum" effect to a solid layer and tweaking dozens of parameters. While powerful, it requires a paid Adobe subscription and hours of rendering time on a powerful PC.
- Blender: For 3D animations, musicians would use nodes and plugins to make 3D objects react to audio data. The learning curve for this is notoriously steep.
While these tools are fantastic for professional motion designers, they are overkill for independent musicians and producers who just want a high-quality visual for their latest beat or single.
The Modern Way: Web-Based Visualizers
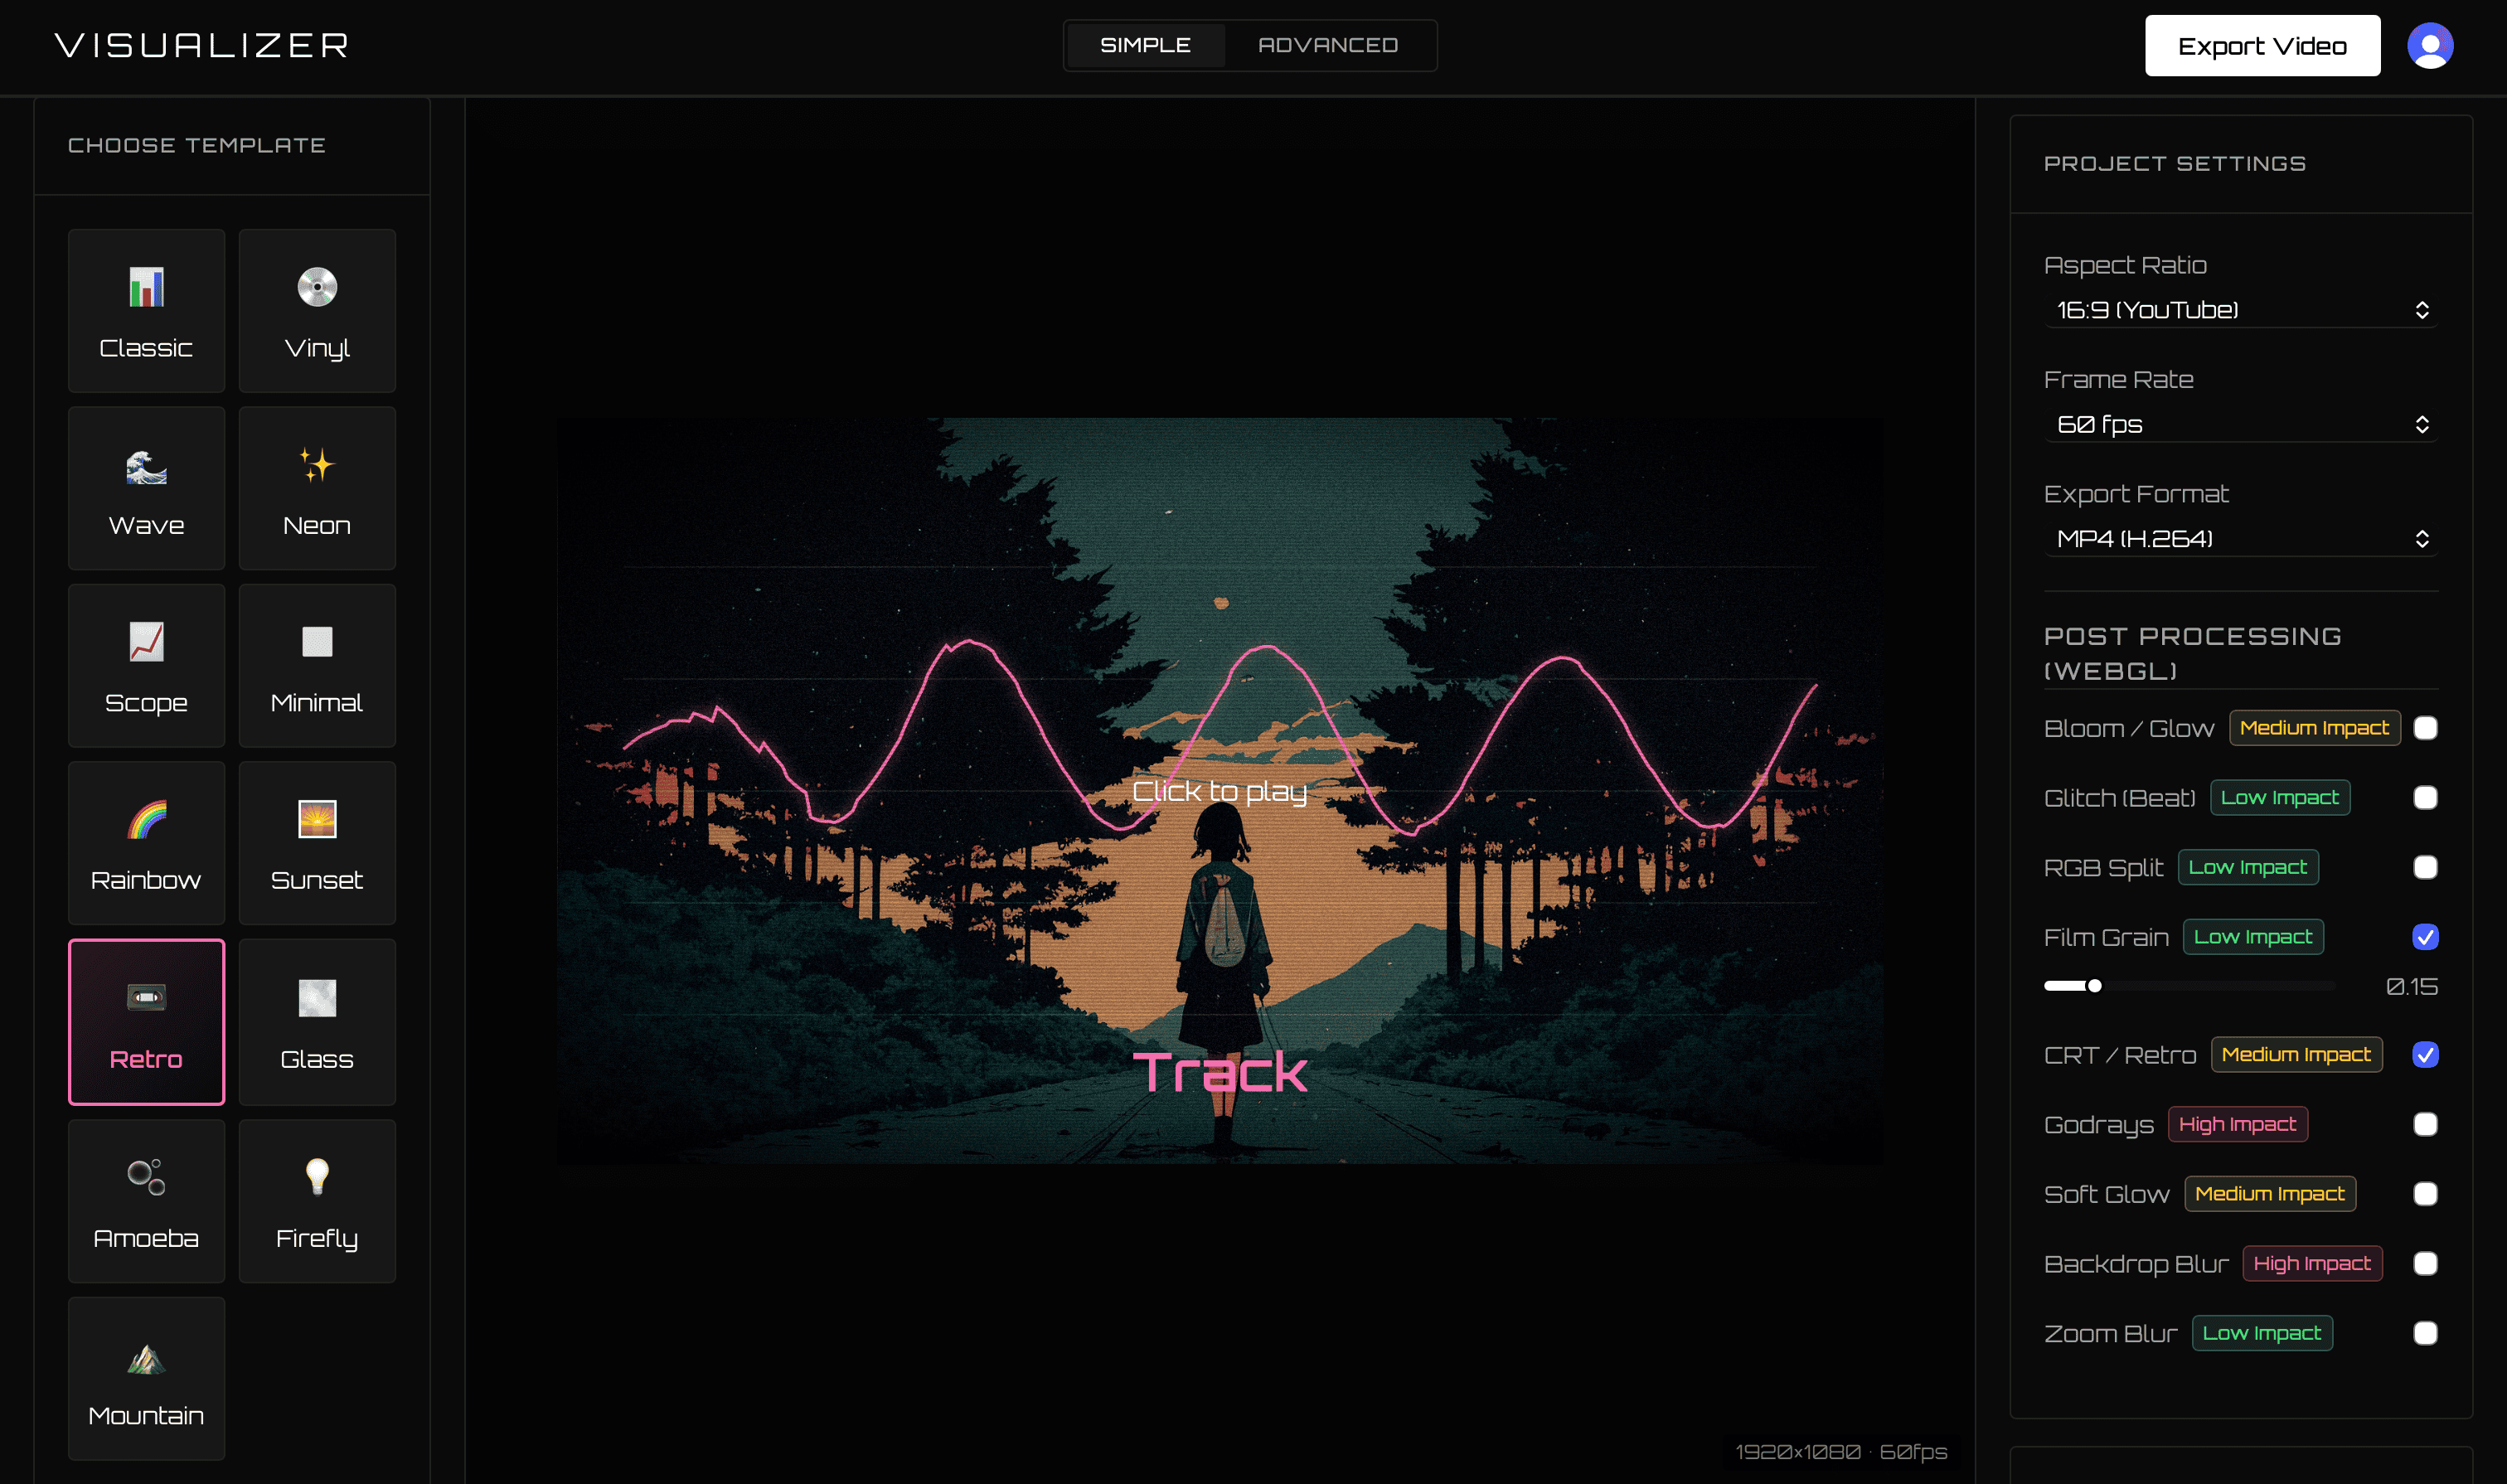
Today, the fastest and highest-quality way to make a visualizer animation is by using dedicated web applications like VisualizerWave. These platforms are specifically engineered to analyze audio and render stunning reactive graphics instantly.
Here is the step-by-step process.
Step 1: Upload Your Master Track
The first step is simple. Drag and drop your final audio file (MP3, WAV, or FLAC) directly into the app. The engine will parse the audio file locally, isolating the frequencies, kick drums, and high hats so that the animation reacts perfectly in sync.
Step 2: Select an Animation Template
Choosing the right visual animation is crucial for conveying the mood of your music:
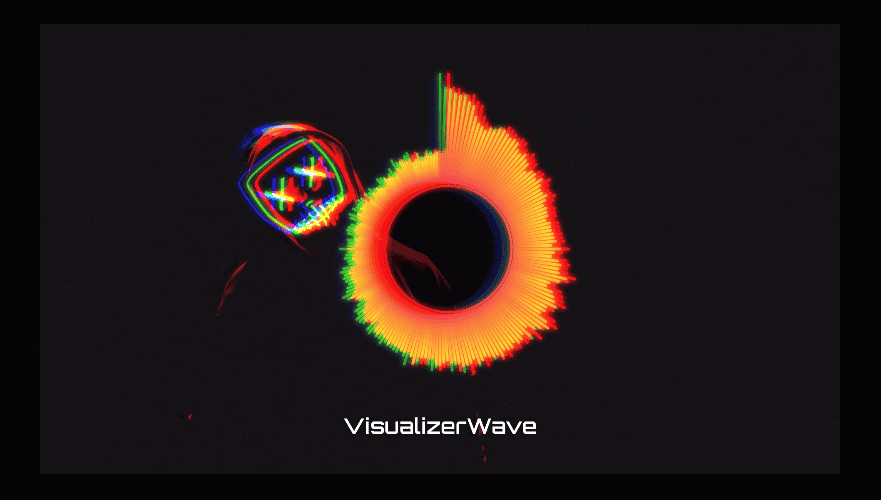
- Aggressive Basslines (Trap/Dubstep): Opt for radial spectrums that expand outward and hit hard on the kick drum.
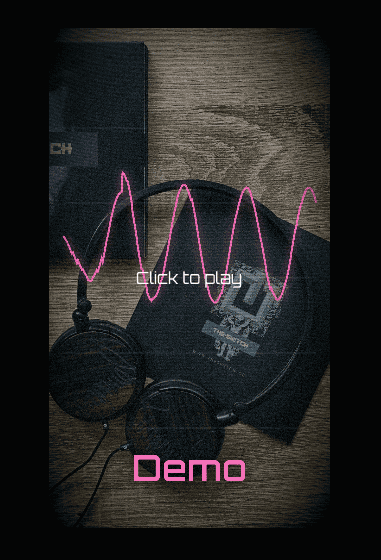
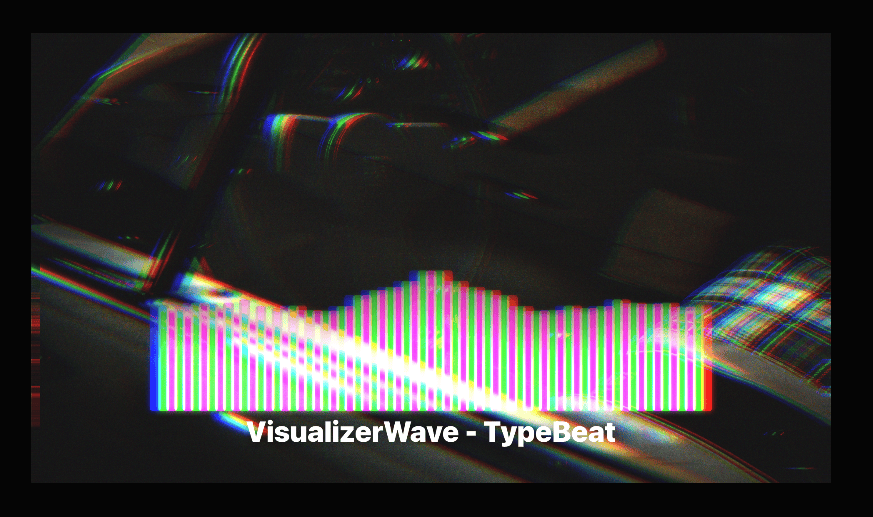
- Mellow & Chill (Lo-Fi/R&B): Smooth waveforms and minimalistic bars that gently rise and fall are perfect for laid-back tracks.
- Cinematic & Ambient: Use abstract particle systems and fluid dynamics that slowly morph based on the sub-bass frequencies.
Step 3: Customize Colors and Branding
Your visualizer animation needs to fit your artist brand perfectly.
- Backgrounds: Upload your album artwork. Adding a slight vignette or darkening overlay ensures the audio animation stands out.
- Brand Colors: Don't settle for default colors. Tweak the hex codes of the visualizer to match the aesthetic of your release.
Step 4: Add Pro Post-Processing Filters
This is the secret sauce to making an animation look like an expensive music video rather than a cheap online template. By applying WebGL post-processing effects, you can elevate the final result:
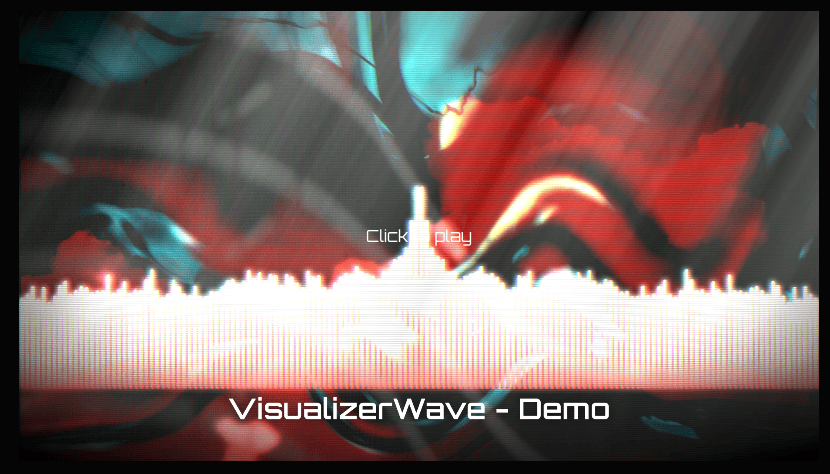
- Dynamic Bloom: Make the visualizer glow intensely when the beat drops.
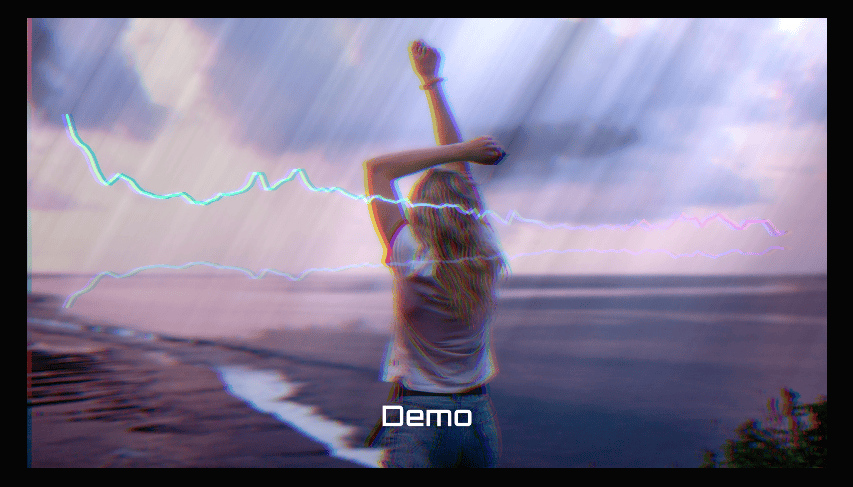
- RGB Split & Chromatic Aberration: Add a subtle cinematic, glitched look to the edges of the animation.
- VHS Effects: Essential for retro, synthwave, or lo-fi hip hop aesthetics.
Step 5: Render in High Definition (4K)
When you've dialed in the perfect look, choose your aspect ratio. You'll need 16:9 for YouTube and 9:16 for TikTok, Shorts, and Reels. VisualizerWave processes the animation using hardware acceleration, meaning it exports crisp, 60fps video files incredibly fast—often faster than real-time.
Ready to Animate Your Music?
Figuring out how to make a visualizer animation used to be a massive hurdle. Now, it's just a matter of dragging your track into your browser and playing with the settings until it looks perfect.