The right audio visualizer plugin depends on the application that will run it and the result you need. Voxengo SPAN is an option for inspecting a mix. Imaginando VS 2 creates reactive visuals from audio or MIDI in a supported DAW. BCC+ Audio Visualizer is a graphics effect for supported video applications. For a release video from a finished recording, VisualizerWave provides a separate browser workflow.
A host is the application that loads and runs a plugin. An analyzer in a mixer, an effect in a video timeline and a standalone video maker can all display moving sound graphics, but their inputs and outputs differ. VisualizerWave does not load native plugins or open your DAW session.
Research scope: Checked October 30, 2026. This guide is published by VisualizerWave. Plugin details come from current official documentation; we did not install or benchmark those products. The worked browser example uses VisualizerWave's actual renderer and exporter, with a separate private soundtrack check. Public animations contain no audio track.
Choose the job before the plugin format
| Your job | Example workflow | What you should expect |
|---|---|---|
| Inspect frequency balance while mixing | SPAN in a compatible audio host | An analysis display for the signal reaching the plugin |
| Play reactive visuals from the production session | VS 2 in a supported DAW | Audio/MIDI routing, visual layers and a documented recorder |
| Add a reactive graphic to an existing video edit | BCC+ in a supported video host | An effect inside the composition, with the host handling the finished video |
| Turn the final master into a branded release clip | Audio file → VisualizerWave | A browser composition exported as a video on a compatible device |
VST, VST3, AU and AAX describe plugin formats. They are not interchangeable download labels, nor promises that a plugin creates a music video. Check the specific product format against your host, operating system and processor support.
Likewise, a video template is not automatically an audio plugin. Before choosing anything called a “visualizer,” establish where it runs, how it receives sound and how you obtain the finished output.
SPAN: visualize the mix for analysis
Voxengo describes SPAN as a free real-time FFT spectrum analyzer. It documents frequency analysis, level and correlation metering, plus VST/VST3, AudioUnit and AAX compatibility in supported 64-bit Mac and Windows hosts.
This is the relevant category when you want to inspect the signal while producing: for example, compare the frequency activity of one track with the master. The signal reaching the plugin matters. A plugin placed on a single instrument does not automatically analyze every other track.
An attractive meter window and a release-video composition serve different purposes. Check for a dedicated video-output workflow if you also need artwork, artist text and a saved movie. This guide does not establish a video export from SPAN.
VS 2: visuals inside a DAW, with audio or MIDI routing
Imaginando VS 2 is a visual synthesizer rather than just a meter. Its current desktop documentation lists AU, VST and VST3, with instrument and effect versions.
The manual distinguishes three routes: MIDI sent to the instrument version, audio routed into that version, or VSfx inserted on a track. For audio, it identifies the plugin's 1/2 stereo bus as the incoming signal. The host must support the routing you intend to use.
VS 2 also documents a built-in video recorder. In plugin mode, its Record control can be armed to follow host playback. Record Audio From separately selects which inputs enter the recording. A visual responding to an instrument and a video containing the desired final mix are therefore separate checks.
Choose this category when access to the session's audio or MIDI is part of the design. We reviewed those documented paths without running VS 2 or verifying its performance on a particular host.
BCC+: a visual effect inside a video application
Boris FX BCC+ Audio Visualizer generates waveform or frequency graphics from an audio source. It belongs to Continuum's video-effects workflow, with presets and controls for the appearance of the generated image.
Its current manual makes an important host distinction: After Effects can select a composition layer as the audio source; other supported hosts import an audio file through the effect's file browser. Do not assume a tutorial's audio selector exists in the same place in every application.
Evaluate this route when you already have a video composition and want the reactive graphic to remain part of that edit. Check the exact effect, host version and license, then confirm that the host's render includes the intended soundtrack.
For FL Studio's own video-making route, use the ZGameEditor and Wave Candy guide. It covers FL Studio's mixer and render controls; the broader decision here applies across audio and video hosts.
The three things to keep separate
Before building a long project, write down these three choices:
| Choice | Example | Why it matters |
|---|---|---|
| Signal driving the visuals | One synth track, a drum bus, the master or imported MIDI | Determines which events can move the image |
| Soundtrack in the final video | The finished stereo master | Determines what the viewer hears |
| Output range and destination | A short section saved as MP4 | Determines what actually reaches the upload or edit |
Suppose you want the image to follow only the kick while the viewer hears the full song. A host with suitable routing may let you separate those jobs. A finished stereo file contains the combined recording, so choosing a bass-focused visual does not recover an isolated kick track.
If the musical notes should control the picture, matching MIDI can be useful. MIDI carries note events rather than the sound of the instruments. The MIDI visualizer guide explains the separate audio-and-MIDI file workflow; importing a recording does not transcribe it into notes.
A tested browser handoff from the finished audio
Use the browser route when the recording is ready and you want to work on its release presentation separately from the production session.
- Render and check the intended audio file. Use a finished WAV or MP3 that includes the instruments, processing and ending you want the viewer to hear. Keep the DAW project for future production changes.
- Import it into VisualizerWave. Choose a template, canvas shape, artwork and title. The complete creation guide covers those composition steps.
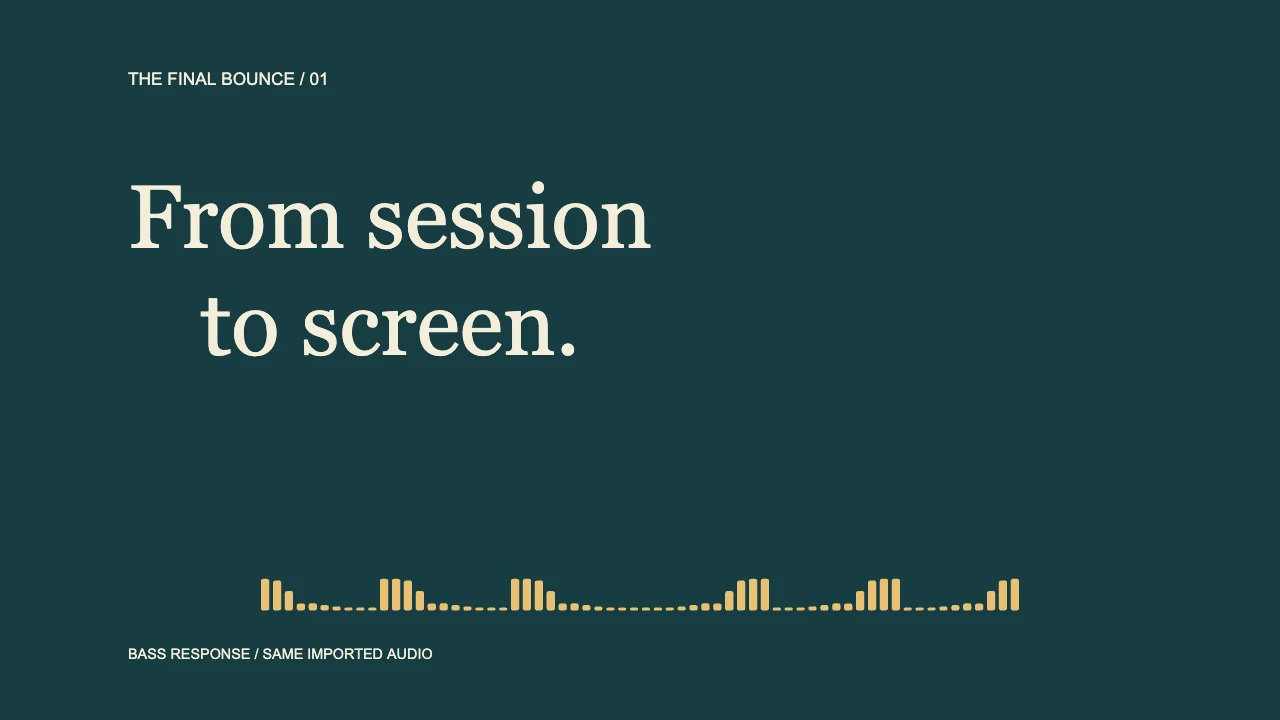
- Choose a visual response. For a supported Bars visualizer, the current Audio response → React to controls include Full mix, Bass, Mids and Highs. These choices affect the visual response, not the audio mix you imported.
- Check the output range. Select Export only a section when you want an excerpt. The newer dialog accepts source timestamps; check the units shown in the earlier dialog before entering values.
- Export and reopen a short file. Run the compatibility check in the browser you intend to use. Inspect movement, titles, soundtrack, format and ending in the saved video.
Changes to the DAW session do not update an already imported recording. Render the revised mix, replace the audio and check the result again.
What the browser example actually proved
We used an existing eight-second private diagnostic recording and exported source seconds 2–6 as a four-second, 1280 × 720, 30 fps MP4. The Bars visualizer used Bass · 20–250 Hz in Standard response mode.
Actual VisualizerWave product-code export: 120 frames, with no audio stream. This is a rendered composition, not a plugin interface or a DAW screen recording. It demonstrates the selected source range and the visual treatment.
A separate private export included the soundtrack. The source recording contained both a low and a higher-frequency component; both remained in that encoded audio despite the bass-focused visual setting. The source audio buffer also remained unchanged. That is the practical distinction: visual frequency selection does not remix the soundtrack or separate its instruments.
The exported frames used source times 2.000 through 5.967 seconds, while the saved video's timeline began at zero. Your DAW timeline and an exported excerpt have different origins. If you bring a clip back into an edit, align it with the source section you actually exported.
This confirms that short desktop-browser configuration. It does not establish native plugin compatibility, mobile support, 4K performance or a full-song render time. MP4 and WebM availability depend on the actual browser and device.
Which workflow should you keep?
Keep the work inside a supported host when the visual depends on individual tracks, MIDI routing, session automation or an existing video edit. Check that the tool's recorded output, rather than only its live window, suits your release.
Use a file-based browser workflow when the master is finished and you want a reusable artwork-and-title composition. VisualizerWave analyzes and renders your media locally; application delivery, accounts and checkout still use the network. Its price is $19 once, with unlimited exports.
Whichever route you choose, make one short file containing the right image and the right soundtrack before committing to the full release. See VisualizerWave's one-time offer.