A sound wave image generator turns a recording into a still picture of its amplitude over time. To make artwork, choose the recording or excerpt, generate the waveform and export an image such as PNG or a vector design such as SVG. Check the actual output format: some sound wave generators create animated videos instead.
This guide demonstrates a real PNG export with FFmpeg, using a local audio file. The downloadable example is 2400 × 800 pixels with transparency. VisualizerWave's editor focuses on video; the PNG workflow below uses FFmpeg as a separate tool.
What we checked: October 30, 2026, using the already-installed FFmpeg 8.1 on macOS. We generated and inspected the full-length and trimmed PNGs, checked their alpha channels and compared a polarity-inverted source. Browser services were reviewed through their public pages, without uploading audio, installing software or purchasing an export.
Choose the image you actually need
| Intended use | A useful output | What to check |
|---|---|---|
| Place a waveform over a photo or layout | Transparent PNG | Pixel dimensions and a real alpha channel |
| Enlarge the waveform as vector artwork | SVG containing vector shapes | Whether the waveform remains vector geometry |
| Send a complete poster to a print shop | The shop's requested image or PDF | Final physical size, margins and image resolution |
| Animate a waveform during a song | A video file | Motion, soundtrack and browser/export compatibility |
The WaveVisual comparison covers its documented artwork and video options. Bonny Creations also advertises an SVG-oriented sound wave tool, while Renderforest's sound wave page describes animated video. Those are different deliverables; this guide does not claim completed exports in those services.
For a browser-only workflow, confirm the PNG/SVG download before spending time on the design. A free editor preview does not establish the price, size or format of the saved file.
Make a transparent waveform PNG with FFmpeg
This route requires FFmpeg to be available on your computer. It is useful when you want a repeatable file-to-image command. If you prefer visual controls, use a dedicated artwork editor and apply the selection, size and transparency checks below.
1. Choose the recording and its time range
Use the file you want the artwork to represent: a finished song, a voice message or another recording. Listen to the beginning and ending, then decide whether the whole file belongs in the picture.
Keep a copy of the original. A meaningful pause may be part of a phrase, while several seconds of recorder handling or an unintended silent ending may be outside the moment you want to frame. Choose that boundary deliberately.
Our example uses an existing eight-second diagnostic recording, with two audio channels and a silent final two seconds. It is a controlled illustration, not a song or a spoken message. No audio from it is published here.
2. Generate one image of the recording
With input.wav replaced by your file, run:
ffmpeg -i input.wav \
  -filter_complex "[0:a]showwavespic=s=2400x800:split_channels=1:colors=0x1e4954|0xb75f43:scale=lin:draw=full:filter=peak,format=rgba[wave]" \
  -map "[wave]" -frames:v 1 -an -update 1 waveform.png
Shown with macOS/Linux shell line continuations. In a shell with different continuation rules, enter the command on one line. Quote input paths containing spaces.
The important choices are:
showwavespicgenerates a single picture from the audio. It differs from FFmpeg's animatedshowwavesfilter.s=2400x800sets the image's pixel dimensions.split_channels=1gives the stereo channels separate lanes. Teal and terracotta identify the two channels in this example.filter=peakandscale=linuse peak-based summaries and linear amplitude scaling. Other summary or scaling choices can change the drawing.format=rgbapreserves the alpha channel in this tested PNG output.
This summarizes the recording across its duration. It is not a frequency spectrum, and it does not draw every sample as a separately visible point. The waveform and spectrum guide explains those different representations.
3. Inspect the actual PNG
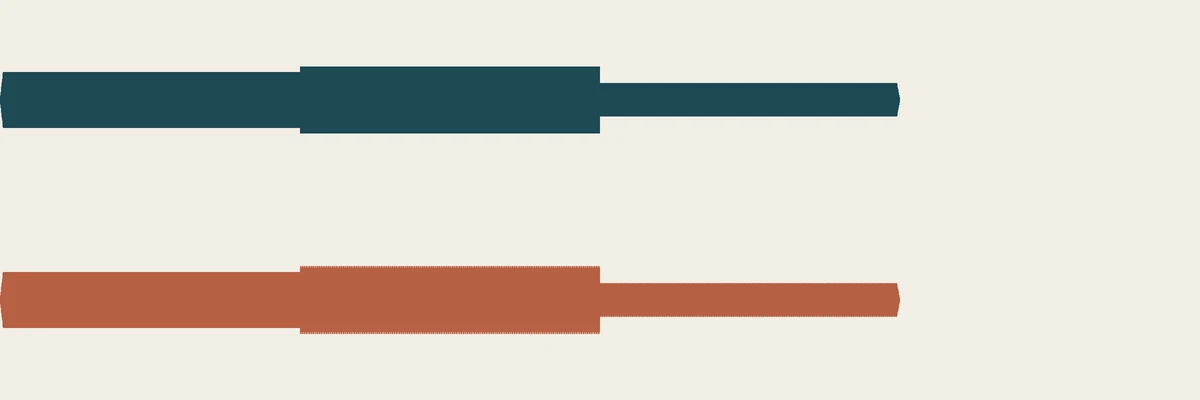
Preview of the eight-second export, composited over cream for this page. The original PNG retains transparency. Its last quarter is empty because the recording ends with two seconds of silence.
Open the original transparent waveform PNG — 2400 × 800 pixels.
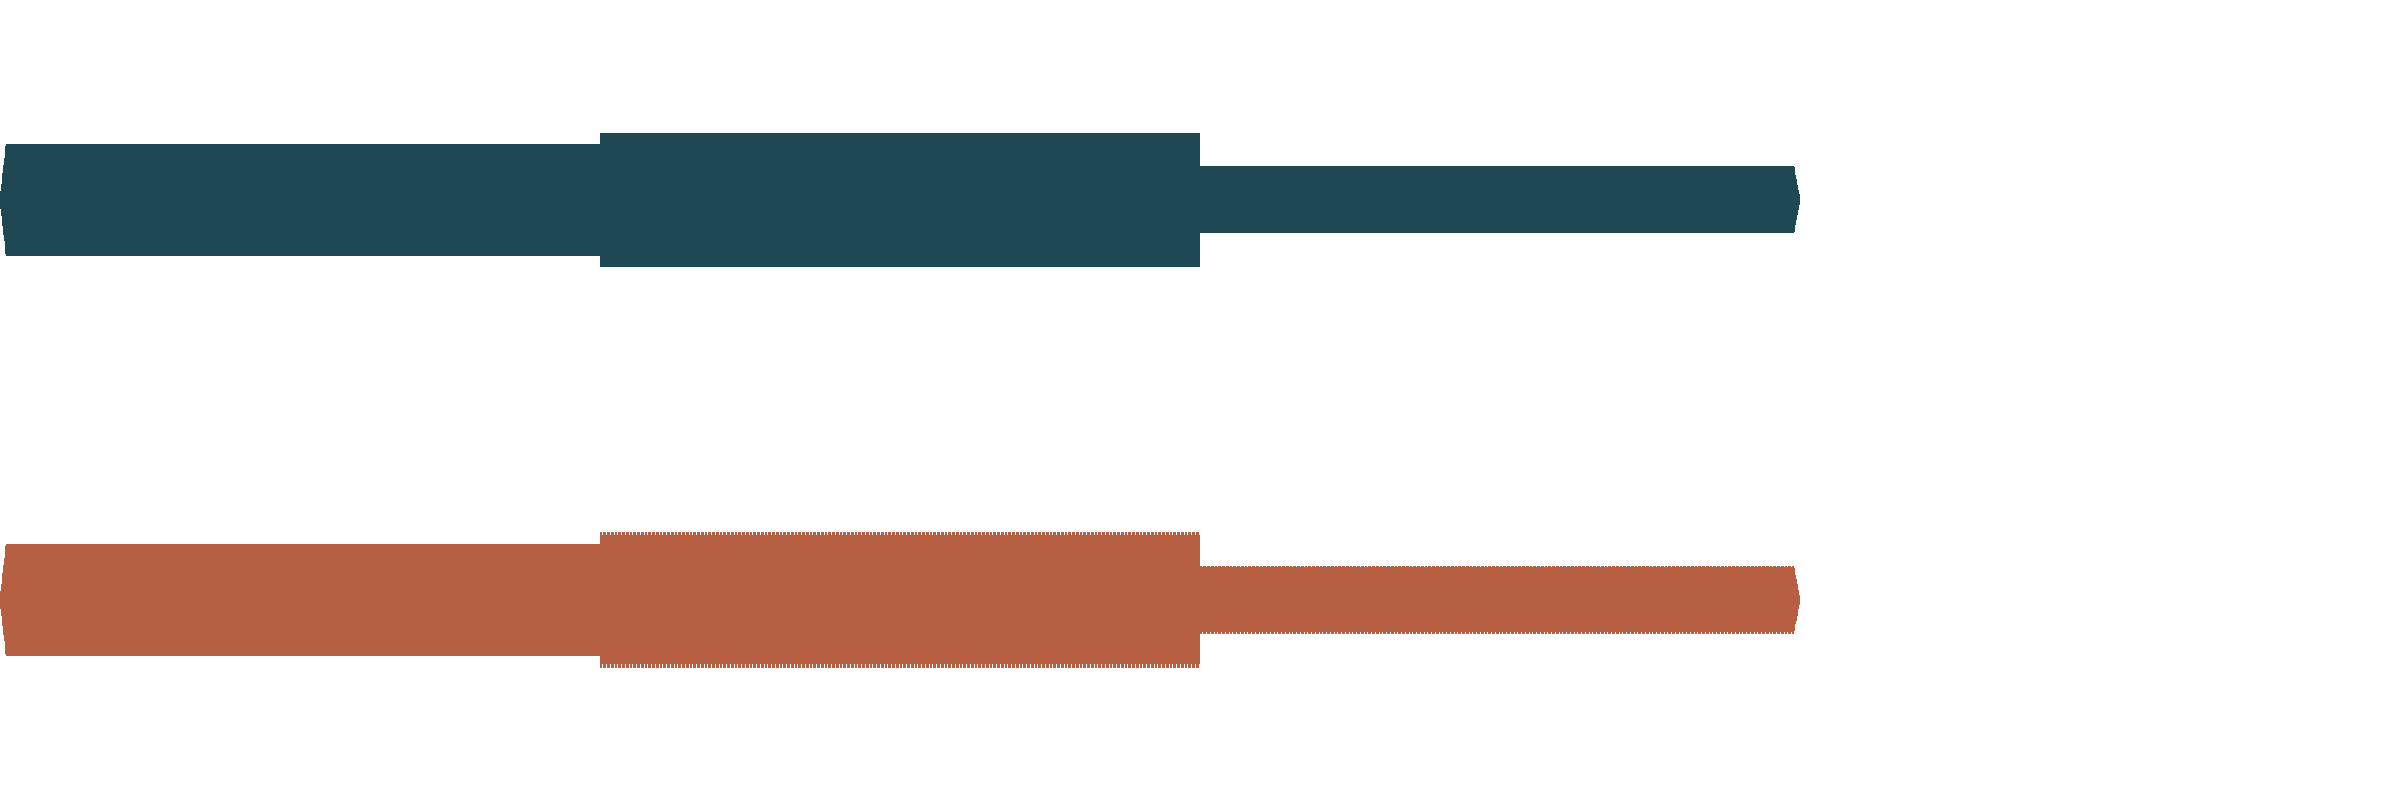
We reopened the file and verified that it is an RGBA PNG, including fully transparent and fully opaque pixels. A checkerboard in an editor often helps reveal transparency, but the checkerboard should not be baked into the exported image. Place the PNG over a contrasting background to check it.
Decide whether to keep the silent ending
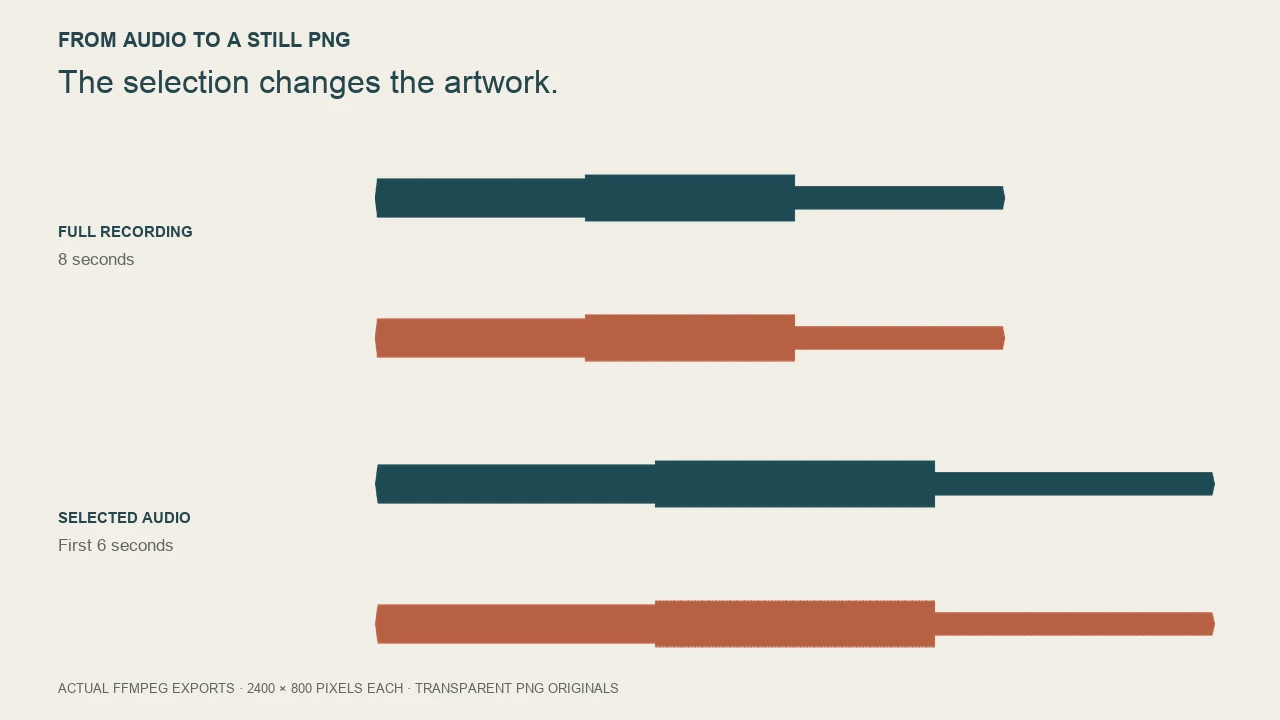
We also generated an image from only the first six seconds, keeping the same 2400 × 800 output size. That removes the silent ending and spreads the selected audio across the image width. The cover compares the two real outputs.
To reproduce that selection for this example, prepend these filters to the command's audio filter chain:
atrim=end=6,asetpts=PTS-STARTPTS,
The start of the chain becomes:
[0:a]atrim=end=6,asetpts=PTS-STARTPTS,showwavespic=...
Open the six-second selection as a transparent PNG.

Six seconds is the chosen boundary for this recording, not a recommended length for every voice message or song. Check the duration and intended phrase before changing the value. Trimming a file and fitting the resulting image into a narrower design are different operations: the first changes which audio the artwork represents.
Set print size from pixels
A PNG has a fixed number of pixels. Calculate the intended print size before exporting a large poster:
Print width in inches = image width in pixels ÷ pixels per inch.
For our 2400 × 800 PNG:
| Placement at the stated density | Result |
|---|---|
| 300 pixels per inch | 8 × 2.67 inches, approximately 20.3 × 6.8 cm |
| 200 pixels per inch | 12 × 4 inches, approximately 30.5 × 10.2 cm |
| 12 inches wide at 300 pixels per inch | Requires an image 3600 pixels wide |
These are size calculations, not a print-quality guarantee. Follow the print shop's specification for the actual material and viewing distance. The waveform may occupy only part of a poster, so calculate its placement size as well as the full page size.
For a larger raster image, change s= and regenerate it from the source. Editing a DPI/PPI label alone does not add pixels. Add the names, date, artwork and margins in your layout application after creating the waveform.
When you need SVG
A vector waveform can suit a design that must scale or enter a cutting workflow. Check that the file contains the shapes you need; an SVG can also contain an embedded raster image. Renaming waveform.png to waveform.svg does not create vector paths.
The tested command here creates PNG. It does not demonstrate SVG export, editable cutting paths or laser settings. Use an editor that explicitly supplies the required vector output for those tasks.
Can a waveform picture play the original sound?
The picture alone does not retain the full recording. Our test makes that limitation concrete: we inverted the polarity of both audio channels, then exported with the same settings. The original and inverted recordings produced identical RGBA image pixels.
Peak-based artwork can therefore look identical for different sample data. It is a visual summary, not a reversible audio file or proof that every recording has a unique image.
If you want someone to hear the recording from a print, add a separate link or QR code pointing to an accessible audio page. Test the link and the printed code. The waveform image does not itself supply the playback destination.
Turn the idea into a moving release video
For a framed keepsake or a static artwork layer, keep the image workflow above. For music that should play alongside movement, use a video composition with the soundtrack, title and artwork.
Reused VisualizerWave renderer output from the waveform guide: eight seconds, 1280 × 720, 30 fps, with no audio stream. It illustrates a moving waveform treatment; it is not the PNG generator used above.
The music visualizer creation guide covers that video workflow. VisualizerWave processes media locally in the browser; application delivery, accounts and checkout still use the network. MP4/WebM availability depends on the browser and device, so run the compatibility check and inspect a short saved export first.
VisualizerWave is $19 once, with unlimited video exports. See the one-time video editor offer.